HOW TO FIND A CAR SCRATCH & PAINT DEFECTS WHEN DETAILING
In this article, you will learn:
- The differences between paint defects and embedded contaminants
- How to spot paint defects and contaminants
- How to remove contaminants and correct paint defects
HOW TO FIND A CAR SCRATCH & PAINT DEFECTS WHEN DETAILING
When you’re just starting to learn about detailing cars, you might hear or see certain things that don’t add up in your mind. For instance, you might see a pro detailer in an online video pointing out paint defects. Or you might read about bonded contaminants in a blog. Detailers throw out these terms, assuming everybody knows exactly what they’re talking about, but that’s rarely the case. The average person might hear “paint defect” and think “manufacturing defect,” as opposed to a car scratch. Or they might hear “contaminants,” not understanding the important distinction between the soils on top of the clear coat and the ones that actually embed themselves in the clear coat.
This is important because a little knowledge about paint defects and contaminants will help you understand why your car goes from looking showroom-new to needing some Turtle Wax TLC. And understanding how clear coat damage happens will give you better insight about how to use polishing compounds to remove scratches, swirls and other defects.

What are bonded contaminants?
Odds are, you have contaminants embedded in the clear coat of your car right now. Bonded contaminants are tiny soils that penetrate and get stuck in the outer surface of your clear coat. They can be microscopic road debris, sand, rail dust or any kind of soil that’s sharp enough to cut into the surface of your car. No matter how much you scrub during a car wash, many of these soils just won’t budge. You likely can’t see them with the naked eye, but diagnosing and removing them will make an enormous difference when correcting your paint and waxing your car. After all, waxing over the top of these contaminants could cause some to break free, in which case, you’d grind the contaminants into the finish as you wax and buff. Or the contaminants can break free after you’ve waxed, leaving your car exposed with countless tiny pits of unwaxed, unprotected clear coat.
The first step in getting rid of these contaminants is determining if your car has them. Start by washing and drying your car. Then, put your hand in a zippered sandwich bag and glide it over the surface of your car. If your paint feels smooth like glass, you can skip straight to polishing out any defects.
On the other hand, if you feel tiny bumps in the finish, you have bonded contaminants. Before correcting any paint defects, take a few minutes to treat your entire car with a clay bar. Work in 2’ x 2’ sections, rubbing the clay bar back and forth across the area. As the clay bar picks up contaminants and begins to look dirty, knead the bar to reveal a clean side, and continue working around the car, repeating these steps. Once that’s done, you’re ready to correct any paint defects.
For more detailed, step-by-step instructions on clay bar treatment, be sure to check out this helpful article.

What are paint defects?
When thinking about paint defects, “damaged clear coat” is really a more accurate way to describe what we’re talking about. The only exception is orange peel, which is a bumpy finish that’s the result of a bad paint job. Otherwise, paint defects include scratches, swirls, spiderwebbing, oxidation, paint transfer, buffer trails, pitting and staining.
Each of these occurs from living with and driving our cars, and most of these flaws affect the clear coat only, not the color coat beneath. If you use your imagination, you can envision a cross-section of your damaged clear coat to understand how scratch remover products correct these issues in real-life. When you’re correcting the paint, a polishing or rubbing compound cuts away just enough clear coat to smooth the scratched area and remove any oxidized material, stains or transferred paint. After that, your car is left with a shiny finish that looks just like it did when it rolled out of the factory.

How to correct paint defects
After you’ve prepped your car by washing and drying it and removing any contaminants with a clay bar, you’re ready to repair the damaged clear coat. Closely examine all areas of your car, inspecting the finish for scratches, swirls, cloudiness or other types of damage.
If you have only isolated areas of damage, such as a light scratch here and there or a few random scuffs or deep scratches, take pictures or make notes about the trouble spots to ensure you correct them all. Then, work on each spot with a scratch remover such as Scratch Repair & Renew.
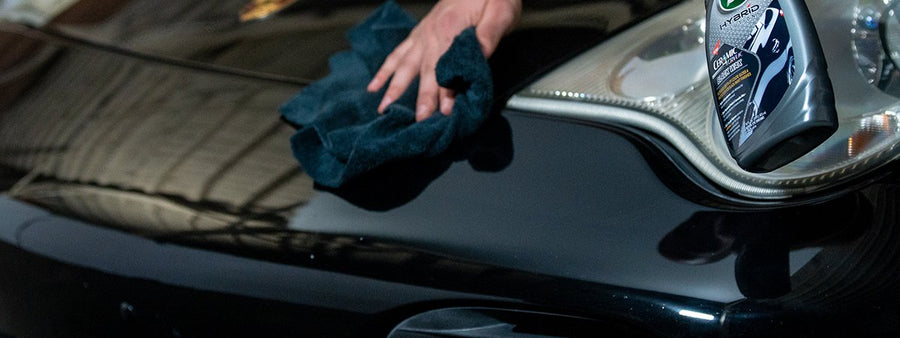
Or, if you have more widespread paint defects, like tiny scratches and swirls, use a polishing compound that’s designed for application to your entire car. We recommend Hybrid Solutions Ceramic Polish & Wax as the ultimate compound, all-in-one way to polish and wax your car in one easy application.
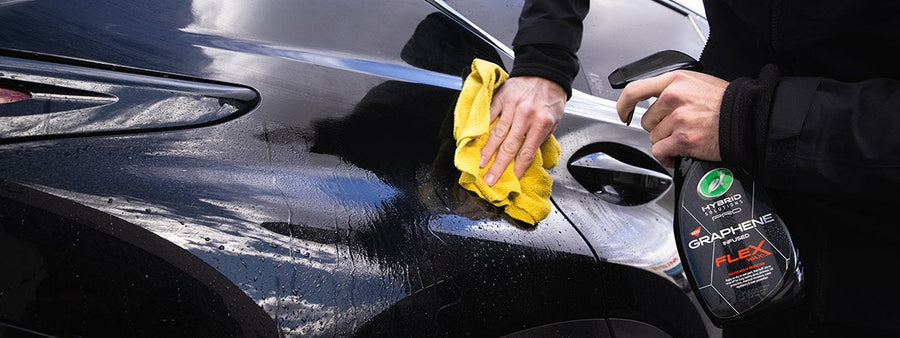
Apply the polish by hand or with a dual action polisher. Work in 2’ x 2’ sections, polishing first and then wiping away with a clean microfiber cloth. Start at the roof of your car and finish with the lower rocker panels. If you used an all-in-one product, your job is done! If you used a polishing compound without wax, we recommend protecting that beautifully shiny, renewed finish with a wax such as Hybrid Solutions Pro Flex Wax.
For a complete, step-by-step guide to paint correction, check out this handy article.
Now that you have the 411 on embedded contaminants and paint defects, you should be much closer to speaking Detailese. We encourage you to keep reading, watching and learning how to become a better detailer. We’ll do our part to help with easy-to-understand articles and step-by-step guides here in our How-to section!


