CUTTING & BUFFING PAINT: WHAT IS THE RIGHT WAY?
In this article you will learn:
- How to cut and buff your paintwork properly
- Why you should always prep your paint before you polish
- Which compounds and buffing pads to use to correct your finish
Polishing and buffing your paintwork may seem like a simple task on paper, but, in practice, the process can prove to be a lot more challenging. You’ll need to determine the severity of any damage to the clear coat, which foam pads and cutting compounds you should use and whether you’ll need a car paint buffer to get the job done. On top of that, you’ll need to know the right way to correct and restore your paintwork, and there’s only so many words that can fit on the back of the product label. Let’s just say that having a million questions comes with the territory.
While there’s no one exact method for cutting and restoring your paint, there are some helpful tips and guidelines you should follow to safely remove scratches and swirls like the pros. In this article, we’ll share everything you need to know to polish your paintwork to perfection!

Always prep your finish
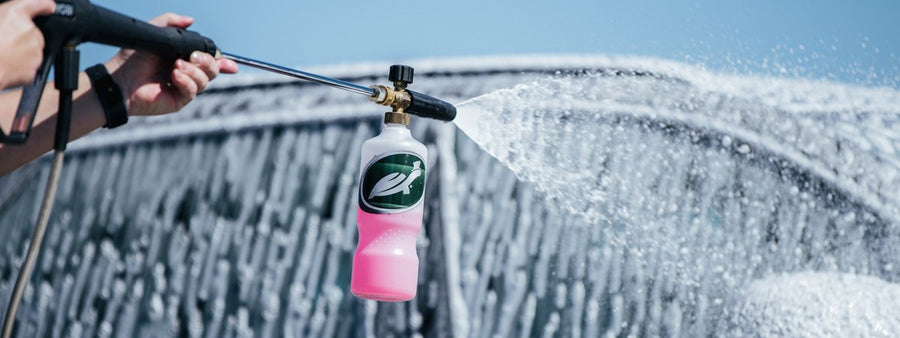
Before you reach for your power tools or polishing pad, it’s important to always start by prepping your finish with a thorough wash and a clay bar treatment. Polishing over dirt and other contaminants embedded in the clear coat can push these abrasive soils further into the paint and even leave behind new scratches and swirls. We recommend using a car wash soap like M.A.X. Power Wash to remove any tough stains and soils from your finish, followed by a clay bar treatment using our Wax Shop Slick & Slide Clay Bar Lubricant to get your paintwork prepped for polishing and buffing.
Pro Tip: Place a plastic, zipper-style bag over your hand and glide it gently over the paint. If you feel a grittiness even after treating your car with a clay bar, you can use an iron remover to chemically dissolve any pollutants that are still stuck in the clear coat! You can find iron removers at your local car care and auto supplies store.

Experiment with spot tests
If you’re new to paint restoration, or to the car you’re working on, you may not know the level of correction you’ll need to cut and buff your paintwork properly. You may be tempted to reach for a heavy-duty compound first to quickly erase scratches and swirls, but this method can just as easily remove more of the clear coat than necessary. Instead of starting with the most aggressive compound first, professional detailers will often start with their least aggressive polish and a light finishing pad to see if they can get the results they want while removing the least amount of clear coat from their finish.
Before you begin cutting and buffing your paint, you’ll need to perform a few test spots on an inconspicuous area of your car, such as the lower rocker panel, to determine which compound and cutting pad you should use. Start by testing a light-duty polish with a foam finishing pad to see if you can use gentler products to restore your paintwork effectively. If you aren’t getting the level of correction you want, switch to a slightly more aggressive compound or cutting pad and perform another test spot to compare the results. Repeat this process until you get the level of correction you’re looking for.
You can also use an adjustable compound, like Hybrid Solutions PRO 1 & Done, with cutting pads of various intensities to perform anything from a heavy-duty cut to a light finishing polish! Again, just remember to start with a light cutting pad first and only switch to a more aggressive pad if required.

Polish from the hood down
Now that you’ve got the right combination of pads and polish, start by buffing the roof of your car and work your way down to the lower panels. Polish one 2’ x 2’ section at a time. This will make it easier to track which areas you’ve already cut and polished and which areas of your paint are still in need of correction.
If you’re using a power polishing tool like a dual action polisher to erase fine lines and swirls, be sure to keep moving your car buffer in a continuous, crosshatch motion as you cut and buff each exterior panel. If you’re polishing by hand, use overlapping, circular motions to achieve a smooth, even finish. Use a folded and quartered microfiber towel to wipe away any excess product from each section and buff out your finish to a deep, reflective shine. Slowly, you should notice scratches and swirls beginning to fade, but you may need to repeat this process several times to remove these defects and imperfections completely.

Protect that newly restored paint
One of the best ways to finish a buffing and polishing session is to top it all off with a fresh layer of car wax! We recommend using our Hybrid Solutions PRO to the Max Wax to lay down the most powerful foundation of protection to preserve that incredible, showroom look. This durable liquid wax is infused with pure graphene to provide unparalleled heat and chemical resistance while giving your car a beautiful, eye-popping gloss.


