What Is the Best Car Upholstery Cleaner for Cloth Car Seats?
In this article you will learn:
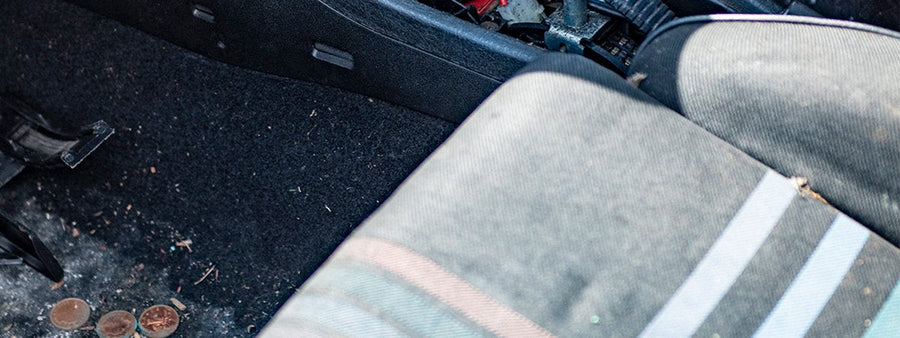
Inside your car, two areas make the biggest impression, positive or negative. Your carpet and your upholstery – when they’re dirty, your car interior looks old and tired, but, when they’re clean, your car can feel showroom-new. We’ll tackle carpet and floor mat cleaning in another post. Today, let’s focus on cleaning car upholstery and how you can revive your cloth car seats.
First things first
Remove all personal items from the seats. This includes any child safety seats or booster seats you may have installed in your car.
Speaking of child safety seats, you’ll almost certainly need to deep clean those before re-installing them on your clean vehicle seats. To do that, follow the same steps and use the same tips and cleaning products we cover for your car upholstery.
One additional tool will help you with child seats. Before vacuuming them, shake out as much soil and debris as possible, then blow out any remaining loose soils and dropped food with an air compressor or compressed air in an aerosol can. Move the seat bottom to make sure you get air into all the cracks and crevices, especially under and around the padded seat. Once you’re satisfied you got rid of all the loose stuff, proceed with cleaning the safety seat upholstery as we describe for your vehicle upholstery.
Suck it up
Before breaking out the upholstery cleaners, vacuum the seats thoroughly. Use a crevice tool or detail brush, if you have one, to get into tight spots, like the area between the seat and seat back. Recline the front seats so you can access these areas more easily. If the vacuum seems ineffective in some of these tight spots, like the seams along the bolsters, use a soft cleaning brush to wipe soils out of these crevices and then follow up with a vacuum to get any soils you brushed out.

Throw a foam party
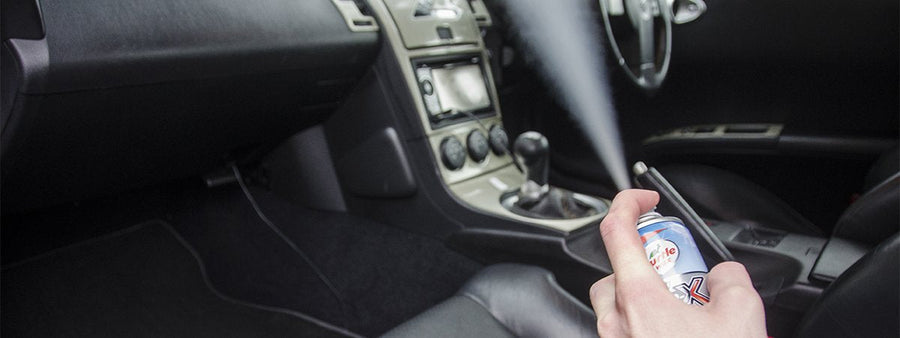
Once you’ve gotten all loose soils off the upholstery, it’s time to get into the fibers of the fabric itself. A foam upholstery cleaner, like our Power Out! Upholstery Cleaner & Odor Eliminator, is the best option here. We always recommend foam, not liquid cleaners, for upholstery because it stays on or near the surface of the fabric. This focuses the cleaning action where you want it, on the seat fabric, and not in the padding underneath. This also speeds drying time once you’re finished and helps prevent any mildew odors from developing.
Examine the seat fabric for spots and stains. Treat these problem areas first. Spray Power Out! Upholstery Cleaner directly on the spot and use the spray bottle’s integrated scrubber brush to work the foam into the stain. Once you’ve broken up the stain, use the brush to comb the fabric along the grain of the upholstery. Use a clean cloth to blot up the soils and residual foam. Examine the area to make sure the stain has vanished. If not, reapply the cleaner, scrub with the brush and blot again.Pro detailers use white cotton towels on upholstery so they can see the effects of their cleaning, and you will, too. You’ll see the soils appear on your towel as they lift off the seat. Keep blotting the seat until your white towel is blotting up only foam, drying the area as thoroughly as possible. Repeat this process on all stains in your seats, front and rear.
After you’ve removed all the stains, use the upholstery cleaner in the same manner across the entire surface of the seats. This will clean the entire seat while helping to blend in the super clean areas where you performed your stain removal. Spray the foam across one seat panel at a time. Focus on the headrest, the seat back and bolsters and seat bottom separately.
Once you’ve covered a panel with foam, use a white cotton towel to wipe and blot up the cleaner. As each side of your towel becomes soiled, flip or refold to switch to a fresh, clean side. Continue blotting until no more dirt or foam is visibly absorbed into the towel. Repeat this process on every seat panel of every seat in your car or truck.
Allow the fabric to dry.
Pro Tip: When detailing your car, clean your upholstery, carpet and floor mats first. This will give these areas time to dry while you clean other interior areas and wash and wax the exterior. This is important not only because you’ll want a dry seat if you need your car later in the day, but also because you don’t want to leave damp surfaces in a locked-up car.
Suck it up, part 2
Some cleaning products leave residue that can act like a magnet for future soils. Power Out! Upholstery Cleaner does not. In fact, any remaining foam that does not absorb into your cleaning towel dries to a light powder. Once your freshly cleaned seats have dried, go back and vacuum them again to remove any of this powder.
How do you like it now?
With your seats clean, you’ve likely transformed the look of your car interior from worn and tired to revived and refreshed. Now, it’s time to do the same to the rest of your car with a complete detailing job! With a little time and Turtle Wax products, you can do it!