FREE DELIVERY ON ORDERS OVER $15
20% Off Sitewide This Weekend Only Use Code Holiday24
THOUSANDS OF 5-STAR REVIEWS
FREE DELIVERY ON ORDERS OVER $15
20% Off Sitewide This Weekend Only Use Code Holiday24
THOUSANDS OF 5-STAR REVIEWS
In this article you will learn:
Remove all the loose personal items from inside your car and store them away for the day. Take out your floormats and vacuum them, along with your car seats and carpet. Make sure to get into all seams, nooks and crannies, reclining the seats and moving them forward and backward as you vacuum to access all areas of your carpet and upholstery. Don’t forget the carpet in your trunk! Use a car upholstery cleaner on fabric seats or a leather cleaner on your leather seats and shampoo your carpet and floormats. Cleaning all of these areas first will give them time to dry as you work on the rest of your car.
Next, clean and condition all the plastic, vinyl and leather throughout your car’s interior. To save time, we recommend all-in-one cleaning products like our Hybrid Solutions Streak Free Mist interior detailer to clean and condition every surface in one, easy step.
Pro Tip: Use detailing brushes or an air compressor to get dirt out of tight spots that your fingers and a microfiber cloth can’t reach.
Once you’ve cleaned and conditioned all interior surfaces, except for your glass, re-vacuum your seats, carpet and floormats to pick up any debris that may have settled onto those surfaces as you cleaned.
With exterior detailing, always hit the dirtiest areas first. Spraying your wheels, tires and engine can transfer brake dust, grime and greasy soils to other parts of your car. By cleaning these areas first, you can wash away any of this mess from your paintwork and other surfaces of your car later. Use a wheel cleaner like our All Wheel & Tire Cleaner and a brush like a Wheel Woolie and follow the instructions on the package to remove all the grime and soils from your wheels, tires and brake components. Do the same with your engine and engine compartment using a solution of water and car wash soap like our M.A.X. Power Car Wash. Rinse clean.
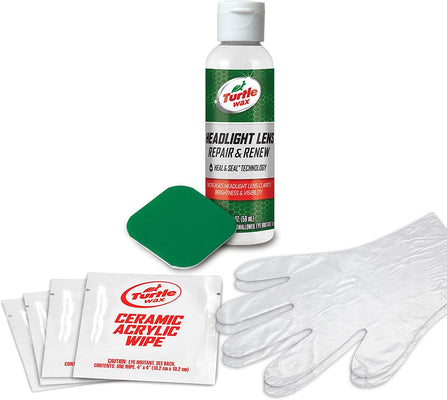
Before washing any painted surfaces, be sure to restore cloudy headlight and taillight lenses. This is one of the huge difference makers with a professional detailing job. Restored headlights help make a used car look brand-new, plus it can improve headlight clarity for safer nighttime driving. Make sure you use a polishing product that’s specifically designed for automotive headlights, like our Speed Headlight Lens Restorer Kit, and follow the directions on the package.
Using a hose, a soft microfiber wash mitt, car wash soap, a bucket and a grit guard, start at the top and clean your car, working your way down to the bottom of the door panels.
As you wash, rinse and dry the finish, pay attention to little details. Do you have embedded contaminants that keep your finish from feeling glassy smooth? If so, you’ll need to treat your clear coat with a clay bar and special lubricant once you’ve dried the car. Do you see stains, scratches or oxidation? If so, treat your finish with a paint correction product like Hybrid Solutions PRO 1 & Done Professional Polishing Compound. How does the rinse water run off your car? Does it bead up and slide off, or does it cling to the paint? This will tell you if you need to apply a new layer of protective wax.
Once you’ve dried your car with a super-soft microfiber towel, do one more closeup inspection of the entire car to determine your next steps.
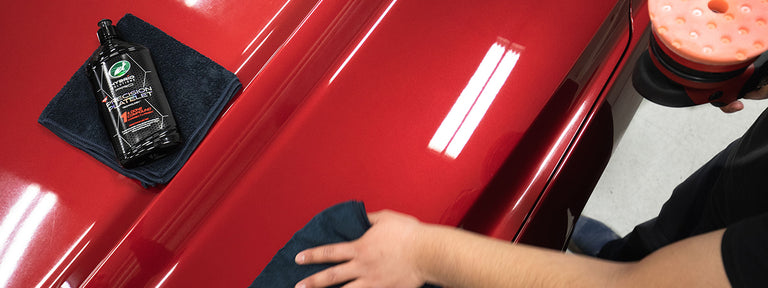
To remove stains, scratches, swirls and oxidation, professional detailers use a car polishing compound like our 1 & Done and a dual action polisher with cutting pads. If you don’t have a mechanical polisher, you can do the job by hand with a polishing compound and a foam applicator. Follow the directions on the package and work on one small section at a time.
Once you have a glossy, scratch-free finish, it’s time to protect your hard work with a layer of wax or sealant. Our Hybrid Solutions To the Max Wax or Hybrid Solutions Ceramic Spray Coating both deliver months and months of protection and shine. Again, just follow the easy application instructions on the package.
By this point, your car should start to look like it was done by a pro – there are just a few, last, but important, spots to handle.
Now’s the time to restore all the uncoated, exterior, plastic and rubber trim. Our Trim Restorer will breathe new life into faded, hazy plastics and lay down a glossy protectant to help preserve the look. It’s great for plastic trim, rubber seals around your doors and rubber hoses in the engine compartment, working in that order.
Clean your windshield and windows, inside and out, with an automotive glass cleaner and a glass-specific microfiber cloth. As a finishing touch, don’t forget to roll down each window by a couple of inches and clean the edges of the glass.
Pro Tip: If your seats, carpet and mats are not dry at this point, we recommend either leaving the windows open if your car is in a garage or cracked if it’s outside. This will help these surfaces dry and avoid any mildew odors inside the car. You can speed the process even more with a leaf blower.
The pros do it. You should, too. Starting every detailing job with clean microfiber cloths, wheel brushes, wash mitts and other accessories is critical to getting a beautiful, pro-level finish. Clean them up now, so they’ll be ready the next time you are!
Subscribe for your newsletter and the rewards will be in your inbox before you even get there
News, events and insights from Turtle Wax® worldwide
Exclusive offers and discounts on Turtle Wax® products
Regular treats and surprises for all subscribers
Thanks! You should receive a confirmation email shortly.