How To Avoid Paint Swelling From Paint Correction

HOW TO AVOID PAINT SWELLING FROM PAINT CORRECTION

In this article you will learn:


  • What causes car paint bubbling and swelling on your paint finish

  • Common mistakes when using a DA polisher that can damage your paintwork

  • Tips and tricks to avoid paint swelling when correcting your finish

Correcting your paintwork at home is a great way to keep your car looking shiny and new without spending hundreds, or even thousands of dollars at the body shop. But repairing all those scratches and swirls by hand can be pretty time consuming.

That’s where dual action polishers come in. Many pro detailers and DIY enthusiasts rely on DA polishers to speed up the restoration process and achieve an even deeper shine. These handy buffing machines aren’t just for the guys at your local detail shop; anybody can learn to use them to create that incredible, showroom look.

However, it’s important to do your research and learn the proper technique before using a machine polisher at home. When used incorrectly, DA polishers can do more harm than good, creating bubbles and paint swelling that can essentially ruin your flawless finish. Luckily, with a bit of insider knowledge and a few detailing tricks, these mishaps are easy to avoid!

In this guide, we’ll share everything you need to know to prevent paint swelling and correct your paintwork like the pros!

What causes paint swelling

Paint swelling occurs when a machine polisher generates too much heat on the surface of your car. With enough heat, the clear coat becomes more malleable, stretching and warping to form paint bubbles and imperfections much worse than the scratches you were attempting to fix.

Your paintwork can experience swelling for a number of reasons, including polishing a surface that was too warm to the touch, not using enough product, focusing too long on a particular spot, etc. These machine polishing blunders all have one thing in common: they’re most commonly made by less experienced DIY enthusiasts. However, once you know your way around a DA polisher, preventing this sort of damage is a piece of cake!

Here are some tips to avoid bubbling and paint swelling during your next paint restoration!

Make sure you use plenty of product

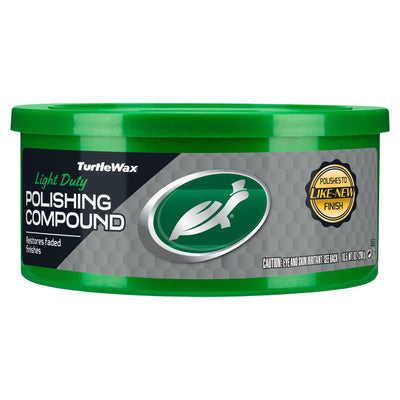
Always apply enough polish to your polishing pad to cover each exterior panel in a thin, even layer. Without this lubricating barrier between the paint and your cutting pad, DA polishers can generate too much friction that will heat up and damage the clear coat.

Each time you move to a new 2’ x 2’ section of your car, add a quarter-sized amount of polish to your cutting pad before you continue with your paint restoration. This step ensures that there’s enough lubrication to keep your polisher spinning without warping your paintwork.

hybrid solutions 1 & done compound

Keep it moving

Try not to focus on one spot on your paint surface for too long. The rule of thumb is to move your polisher one inch per second to avoid burning a hole in your clear coat. Move your cutting pad in smooth passes up and down your exterior panels to keep from covering the same area twice. If there’s a particular scratch or swirl mark you’re trying to repair, you can always return to it later once you’ve allowed that area to cool.

Of course, not every scratch or imperfection can be repaired at home, even with the help of a DA polisher. If the scratch is deep enough to catch your fingernail, or you have a deeper scrape that has gone through the clear coat, you may need to take your car to the auto shop for repairs. For more severe damage, such as large chips in the paint, a professional detailer may need to use body filler to fill in the damaged site before touching up the exterior panel.

da polisher

Feel your paint surface

One way to avoid paint swelling is to stop and use the back of your hand to feel the temperature of your paint exterior. If the surface of your car is exceptionally warm, or you can’t keep your hand there for 5-10 seconds, then the paintwork is too hot to continue polishing. You’ll need to give that area some time to cool or add more polish to your pad to lubricate and cool the surface before you continue.

Ease up on the pressure

Don't apply too much pressure to your cutting pad. This can create additional friction that can quickly causes a scratched or swirled area of your paintwork to bubble. Ten to 15 pounds of pressure, or even the weight of your machine polisher, is all you need to achieve a spotless restoration. Let your product and polisher do most of the work.

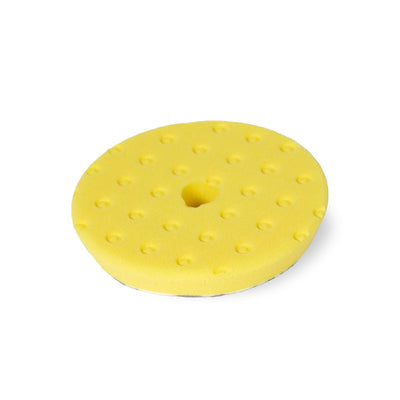
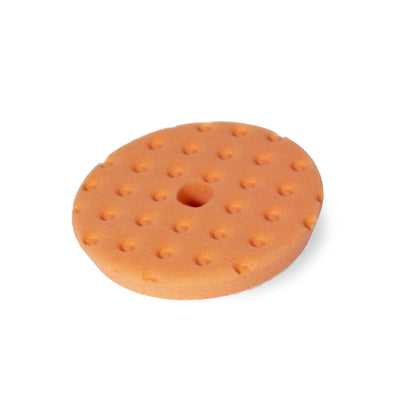
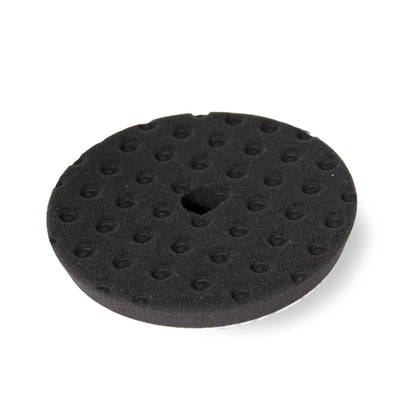
If you aren’t getting the level of correction you’re looking for, you may need to switch to a more heavy-duty compound, like Hybrid Solutions PRO 1 & Done, along with a more powerful cutting pad. We recommend having a range of cutting pads on hand, such as our Hybrid Solutions Cutting Pad collection, so you can switch easily between pads to repair anything from light scratches to severe swirls and oxidation!

da polisher

The bottom line

Even with the help of a dual action polisher, patience is key to a successful paint restoration. Scratches and swirls don’t always come out of the clear coat right away; you may need to polish the area several times with multiple pads and compounds before those pesky imperfections begin to fade, but trust us when we say it’s well worth the wait. Just follow these simple detailing tips and you’ll be polishing like the pros in no time!

WANT MORE TURTLE WAX?

Subscribe for your newsletter and the rewards will be in your inbox before you even get there

Latest

News, events and insights from Turtle Wax® worldwide

Offers

Exclusive offers and discounts on Turtle Wax® products

Rewards

Regular treats and surprises for all subscribers

Thanks! You should receive a confirmation email shortly.