FREE US SHIPPING ORDERS OVER $15
Basis To Achieving A Showroom Finish

BASIS TO ACHIEVING A SHOWROOM FINISH

In this article, you will learn:


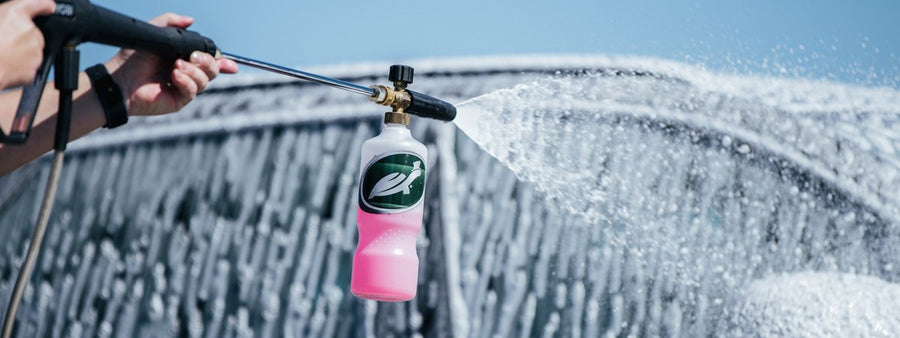
  • How to prepare your clear coat for paint correction

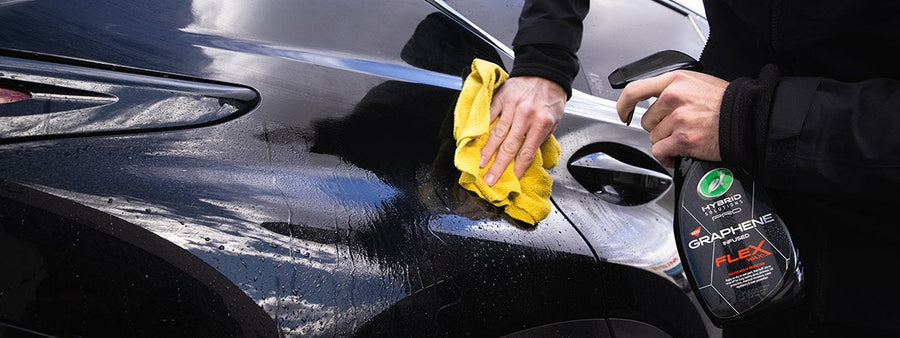
  • How to remove scratches and swirls in your paint with a mechanical polisher and by hand

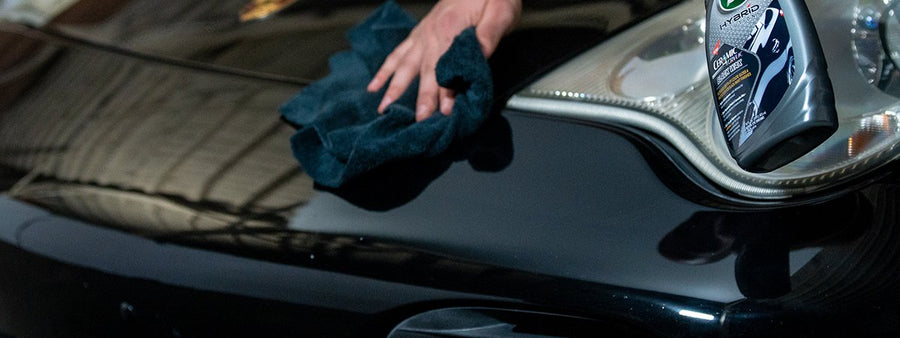
  • How to keep your finish looking better for longer

For some of us, “routine wear and tear” isn’t acceptable. We have a passion for our cars, and we’re excited about spending the time to make them sparkle like new. With the best car detailing products from Turtle Wax and the right know-how, getting this showroom finish is easier than many people think.

Whether you’re completely new to car detailing or you’ve been at it awhile, we hope you’ll find some tips here to make your next detailing day a total success. So, let’s dive right in!

Preparation makes perfect

One of the primary reasons a professional detailing looks so incredible is because the pros spend the time necessary to prepare the car properly before polishing and waxing. If you want to make your car or truck look showroom-new, you should do the same. Here’s how:

Start by washing your car – no automatic wash here. Do it by hand with a handful of detailing supplies – a hose, a bucket with a grit guard, a proper car wash soap, microfiber wash mitt and microfiber towels. If you have a pressure washer and foam cannon, be sure to include those as well.

First, rinse your entire car from the top down. Use a strong stream of water to break up any caked-on mud, dirt and grime and rinse away any loose soils. Spray the tires and wheels with water. Then, use a wheel cleaner and brush to remove brake dust and other soils from the tires, wheels and brake components. Dry and apply a tire shine product for a deep, glossy black.

In your wash bucket, mix a solution of car wash soap and water.

5 gallon bucket

Pro-Tip: Never use household cleaning products like dish detergent to wash your car. Products like these can strip wax off cars, exposing the finish to the elements and undoing all your hard work. Always use car wash soaps and car care products that were formulated for the job. We recommend M.A.X. Power Car Wash or Cherry Snow Foam.

Start washing your car at the top. Clean the roof, hood and trunk first. Then, work your way down, finishing at the plastic trim and lower rocker panels. Be sure to rinse your wash mitt in the soapy solution frequently to remove all abrasive soils. Work in 2’ x 2’ sections and rinse your mitt before moving on to the next section.

Once you’ve scrubbed the car clean, rinse away all remaining soils and soap until the water draining off the car is crystal clear without suds.

Dry the entire car from the top down with a soft microfiber towel or towels.

The next step is a critical one. Most DIY detailers skip it, but, if you want your car to look its best and maintain its finish longer, you need to spend a little extra time, less than an hour, removing any bonded contaminants from the clear coat. You may not see these tiny particles, but they make an enormous difference in how a wax adheres to the clear coat.

Checking the finish for contaminants is easy. Place your hand in a plastic sandwich or zippered storage bag. Lightly run your hand over the surface of your car, particularly over the front. If your hand passes smoothly over the finish like glass, you can go straight to the polishing step. If you feel any tiny bumps as you slide your hand, your clear coat has embedded contaminants. You’ll need to treat your car with a clay mitt.

m.a.x. power car wash

Pro-Tip: Before using a clay mitt on your paint, always be sure to condition the clay first. Simply rinse your windshield, and, while the glass is still wet, slide the clay back and forth across the glass for about 30 seconds. This will help to “break in” the clay, making it gentler on your car’s finish.

Spray clay bar lubricant on the clay mitt and the car surface and lightly rub the clay back and forth in a 2’ x 2’ section. If you’re using a clay bar, knead it into the shape a flat disk, spray it and the paint with the lubricant fold the clay occasionally as it picks up contaminants and becomes dirty. Continue working in 2’ x 2’ sections until you’ve treated the entire car. Rinse and dry the car with a microfiber cloth.

1 & done polishing compound

Time to polish

The pros call it paint correction. You might call it polishing. Either way, this is the detailing step when you remove all the scratches, swirls and oxidation to make your paint and clear coat look new again. There are two basic methods to do this. If you’ve been detailing your car for some time, you may own a mechanical polisher. If not, you can still do a great job by hand. It will just take a little longer.

Start by placing masking tape over your plastic and rubber trim to protect these stain sensitive surfaces. Polishing agents can leave behind a noticeable residue on dark-colored trim that, once on, is extremely difficult to remove.

Using a mechanical polisher, apply four dime-sized drops of 1 & Done Polishing Compound or other car polish to a wet cutting pad. If the scratches are moderate to heavy, use a more aggressive cutting pad for the first pass. Start with the roof and work your way down in 2’ x 2’ sections on medium speed. Use a crosshatch pattern and polish the area for about 1 minute. Using a spray bottle of water and a microfiber cloth, wipe away the compound residue and check your work. If the surface looks shiny and polished, move on to the next section of your car. If you think it need more correction, switch to a more aggressive pad and repeat the process. Continue working down and around the car in 2’ x 2’ sections, from the roof, to the hood, to the trunk and all the way down to the lower rocker panels.

As you work, you may need to rinse your cutting pad. If you see gray or yellow buildup on the pad, rinse it clean and apply more compound before proceeding.

After you’ve completed one pass around the whole car, switch to a light cutting pad and continue using 1 & Done polish. Repeat the polishing process, working in sections all the way around the car again for a high-gloss finish.

Finally, finish off that scratch-free, showroom-look with a layer of wax protection. Using either Hybrid Solutions Pro To the Max Wax or Hybrid Solutions Pro Flex Wax, simply spray, spread and wipe with a clean microfiber cloth!

If you don’t have a mechanical polisher, we recommend a dual-action polish and wax product like our Hybrid Solutions Ceramic Polish & Wax. It’s an incredibly effective, all-in-one product that works great for hand application. And, because polishing by hand will take longer than with a machine, you’ll appreciate having two steps built into one.

Hand application is essentially the same as machine application. You’ll follow the same basic process but use a foam applicator instead, and you’ll work the polish and wax across the surface using an overlapping, circular motion. Once you’ve finished polishing each section, spray it with water and wipe clean with a microfiber cloth. Continue the process from the top to the bottom and around the car. When you’re done, your car or truck will look terrific with incredible shine!

hybrid solutions pro flex wax

WANT MORE TURTLE WAX?

Subscribe for your newsletter and the rewards will be in your inbox before you even get there

Latest

News, events and insights from Turtle Wax® worldwide

Offers

Exclusive offers and discounts on Turtle Wax® products

Rewards

Regular treats and surprises for all subscribers

Thanks! You should receive a confirmation email shortly.