
FREE US SHIPPING
ORDERS OVER $15
-
Exterior
-
Interior
-
Hybrid Solutions
Featured
- MISTER CARTOON
-
Kits
Featured
- Accessories
- Learn
-
Rewards
Earn Points Today
-
Product Finder
What Are You Working On Today?
- Home
-
Exterior
- Buy One Get One Free Deals
- New
- Best Sellers
- Problem Solvers
-
Wash
- waterless
- wash & wax one steps
- extreme foam
- heavy duty cleaners
- ph neutral car wash
- exterior car glass cleaner spray
- View all Wash
- Wax, Seal & Coat
- Paint Correct
-
Restore
- headlight restoration
- restore scratch repair
- trim restoration
- bug & tar
- metal & chrome finish
- View all Restore
- Wheel & Tire
- View all Exterior
-
Interior
- Buy One Get One Free Deals
- New
- Best Sellers
- Cleaners
- Carpet, Mats & Upholstery
-
Leather Care
- leather cleaner & conditioner
- best car interior cleaning products for leather-vinyl-rubber
- View all Leather Care
- Odor Elimination
- View all Interior
-
Hybrid Solutions
- Buy 1 Get 1 Free
- New
- Best Sellers
- Ceramic
- Graphene
- Interior
- Hybrid Solutions Pro
- View all Hybrid Solutions
-
Mister Cartoon
- Mister Cartoon Air Care & Foggers
- Mister Cartoon Wash, Wax & Detailer
- Mister Cartoon Interior, LVP & Protectant
- Mister Cartoon Wheel & Tire
- View all Mister Cartoon
-
Car Care Kits
- New
- Best Sellers
- Vehicle Detailing Kits
- Exterior Kits
- Interior Kits
- Hybrid Solutions Kits
- View all Car Care Kits
-
Accessories
- New
- Best Sellers
- Wax application
- Exterior Accessories
- Interior Accessories
- Buckets
- Cutting Pads
- Towels
- Sponges & Mitts
- Apparel
- View all Accessories
- Rewards
- Learn
- Product Finder
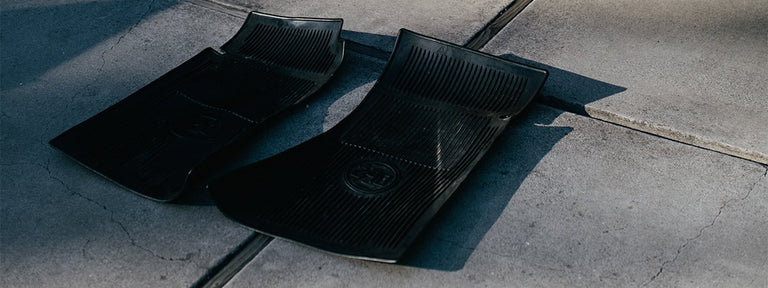
HOW TO CLEAN & RESTORE RUBBER CAR FLOOR MATS
In this article, you will learn:
- How to remove even the most stubborn soils from your rubber car floor mats
- How to restore and preserve the color of your rubber car mats
- How to keep your rubber floor mats from aging prematurely
Drivers typically choose to swap out their carpeted floor mats with rubber ones because they know they’re going to get exceptionally dirty, so they want even more floor protection. For instance, rubber mats can be a smart, year-round addition to your car or truck if you work or play in dirty, muddy or wet environments. Or, if you get a lot of snow in the wintertime, rubber mats can keep messy and corrosive salts out of your carpeted car floor. But, once they’ve done their job for a while and withstood all this use and abuse, how do you get them clean? What can you do to make your floor mats look as good as new?
Don’t worry. We’ve got you covered with some simple tips to make cleaning your rubber mats a breeze, no matter how filthy they are. And, in case they’re starting to fade, we’ll share a handy suggestion to bring back their original color!
Break out the heavy-duty cleaners
Just like they withstand heavy salts and soils, rubber floor mats also stand up to heavy duty cleaning solutions, so go ahead and pull out the heavy hitters to make your job easier. They are rubber after all, so you can safely use a tire and wheel cleaner or a highly concentrated car wash soap. We recommend All Wheel & Tire Cleaner or M.A.X. Power Car Wash. The high alkalinity in cleaners like these, paired with a good wheel brush, will make short work of oils, greasy stains, salt buildup, mud and more.

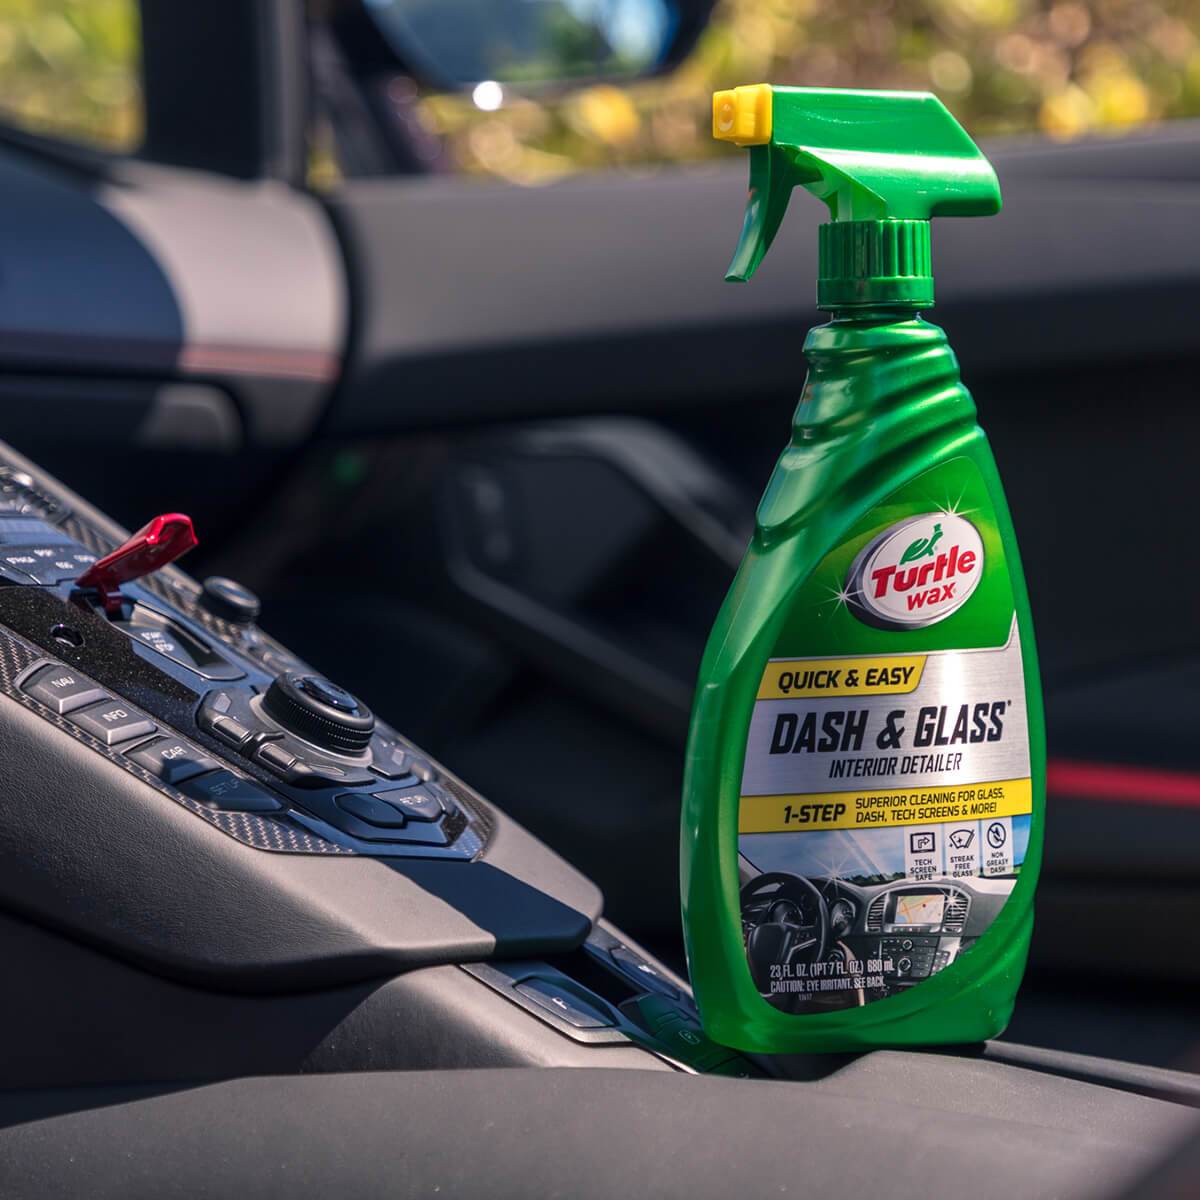
Restore and protect
While a rubber mat is tough enough to stand up to the rigors of extreme use, the material can fade over time or even dry and crack from UV exposure. That’s why we recommend a very light application of protectant at least every time you deep clean your mats. An interior detailer spray, like Dash & Glass, works great for this purpose.
Cleaning and restoring flexible rubber mats
- Clean the exterior surface where you plan to work. A concrete driveway or sidewalk is ideal. Hose down the area to remove any loose soils and then remove your rubber mats from the car and place them on your clean work area.
- Spray the mats with a powerful stream of water to break up and rinse away as much soil as possible.
- Spray with wheel cleaner or a powerful car wash soap solution. Allow the cleaner to dwell for a few moments but don’t let the spray dry on the mats.
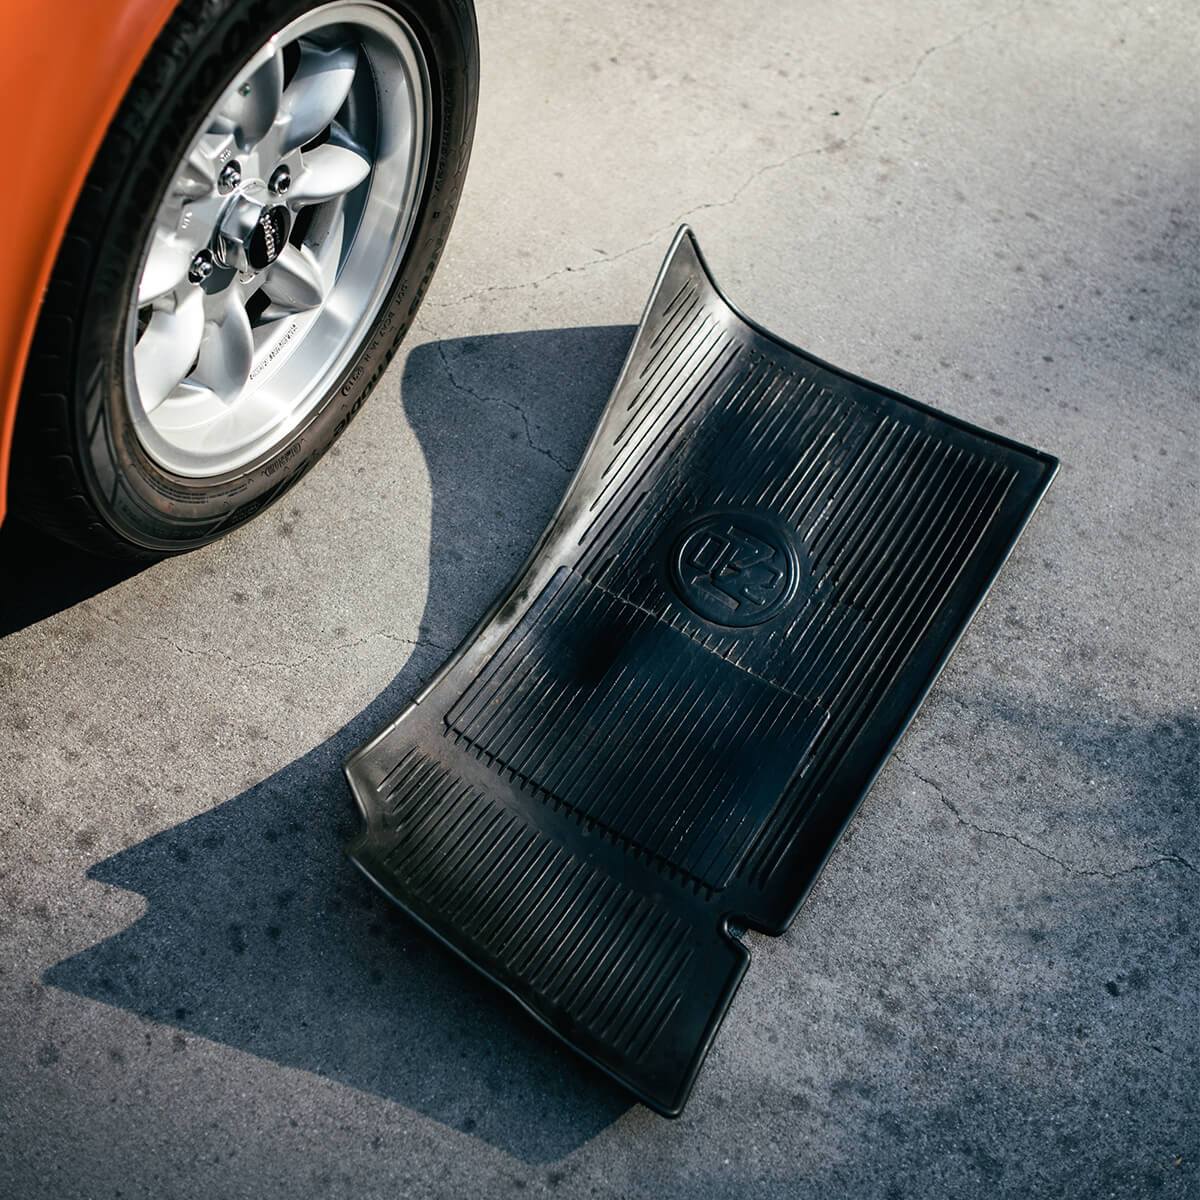
- Scrub each mat with a soft bristle brush. Be sure to get into all the nooks and crannies. You may need to brush from a number of angles to reach every surface.
- Rinse the mats with water and check your work. If you still find soil, spray them with more cleaning solution and scrub again. Rinse very well, ensuring there is no cleaner residue left behind. Allow to dry.
- Check the backs of the mats. If they’re soiled, too, simply follow the steps above to clean, rinse and dry them.
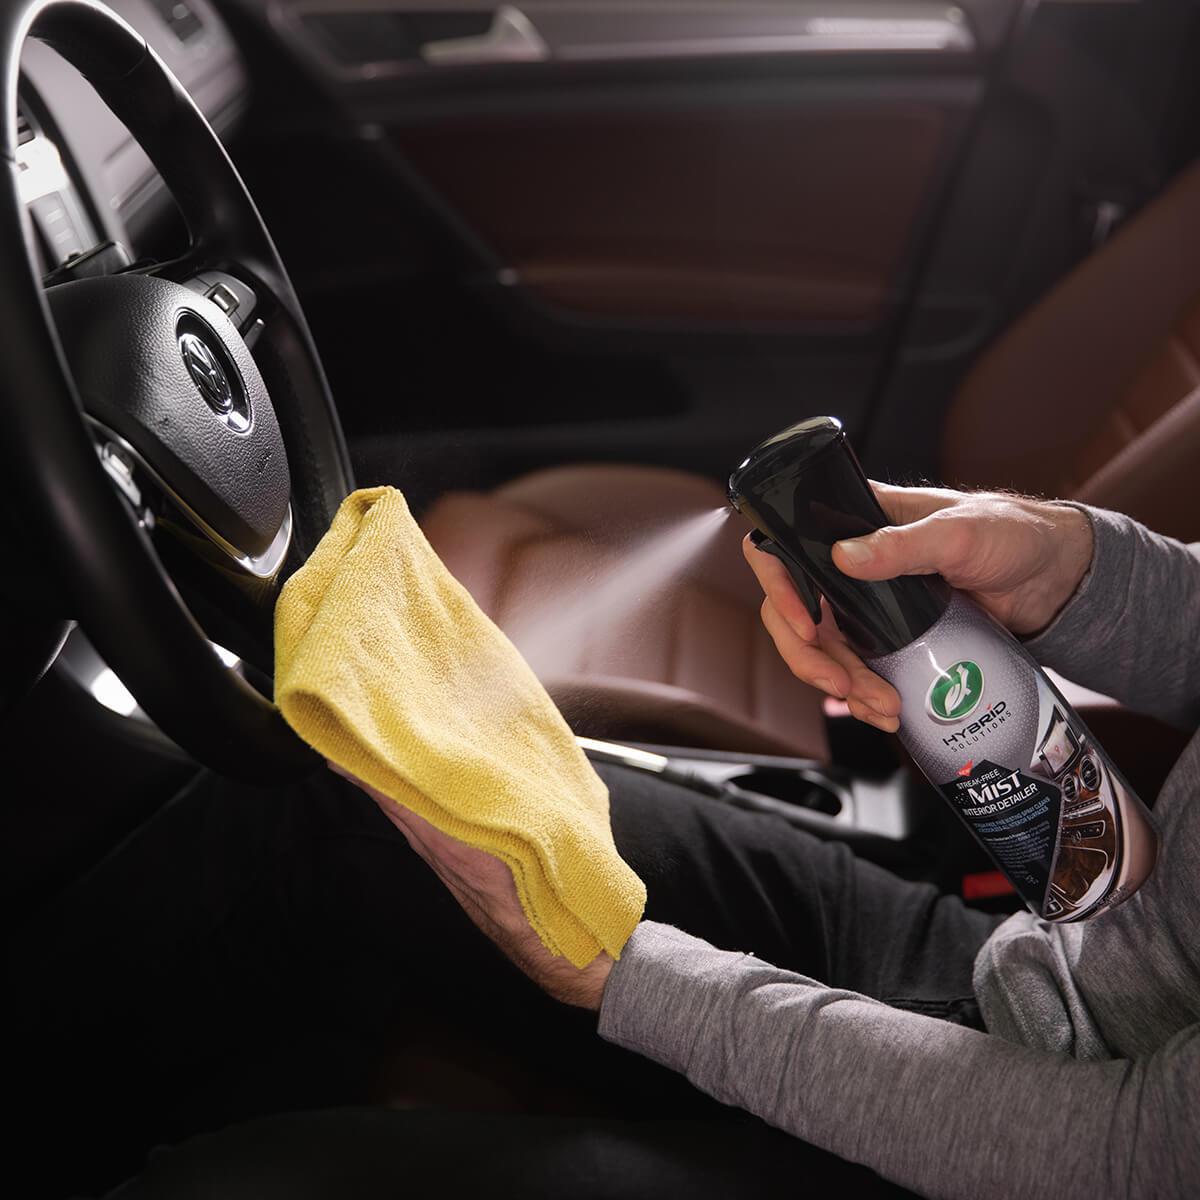
- Once you’ve deep cleaned your mats, we recommend restoring and protecting them. Simply mist a microfiber cloth with a light protectant. For this job, we like to use interior detailers, cleaning products with integrated, light-duty protectants. Wipe the cloth over all surfaces, pushing it into any ribs or textures of the mat. The color of the mat should appear deeper and richer, like when it was new, but the surface should not appear shiny. Flip the microfiber cloth to a clean, dry side and wipe away any extra protectant.
Pro Tip: After applying protectant, always check the safety of your floor mats. Simply return each mat to the floorboard, sit in the car and place your feet on the mat. Try to slide your feet back and forth. If your shoes slide over the rubber, wipe the mats again with a microfiber towel to remove any residual slickness. Your mats are safe when you feel your shoes gripping, not sliding, on the rubber.
Cleaning harder, less flexible floor mats
Certain companies make all-weather floor mats from materials other than rubber. Typically, they are harder, less flexible and require a different care process. Some are even cut to fit each car model. To clean these harder mats, just follow a few simple instructions:
- Clean the exterior surface where you plan to work, removing any loose soils. Place your mats on the clean work area.
- Spray them with a powerful stream of water to break up and rinse away as much soil as possible.
- Spray each mat with an all-purpose automotive interior cleaner. Allow the cleaner to dwell for a few moments but don’t let the spray dry on the mats.
- Scrub each mat with a soft bristle brush or microfiber towel. Be sure to get into all the nooks and crannies. Rinse the mats with water and check your work. If you still find soil, spray them with more cleaning solution and scrub clean.
- Rinse very well, ensuring there is no cleaner residue left behind. Allow to dry.
- Check the backs of the mats. If they are also soiled, simply follow the steps above to clean, rinse and dry them as well.
These harder mats don’t typically require any restoration. Once they’re clean and dry, they’re all set to go back into the car!
Featured Products
All Wheel & Tire Cleaner
$8.00
- High-performing power foam breaks up dirt, mud, residue and brake dust
- Easy to use, spray and rinse wheel and tire cleaner
- Non-acidic and safe
All Wheel & Tire Cleaner
23.0 fl oz
$8.00
- Deep Cleaning for All Wheel Types
- Eliminates Brake Dust & Grime
- Spray, Scrub, Rinse Usage

Max Power Car Wash
$7.00
- Three levels of cleaning power from moderate to extreme for the wash best suited to your needs
- Removes stains, tar, tree sap and even old wax to prep and restore tired surfaces
- Fragrance-infused formula creates a pleasant atmosphere for a refreshing car care routine
Turtle WaxMax Power Car Wash
100.0 fl oz
$7.00
- Adjustable Strength: User Control
- Enough for Over 20 Washes
- Eliminates Toughest Dirt and Grime

Dash & Glass Interior Detailer
$7.00
- One-step cleaning for all washable interior surfaces
- Sparkling, streak-free cleaning for glass, instruments, touchscreens, plastics and more
- Clearvue Technology delivers dust-free, non-greasy, zero-residue cleaning
- UV protectant shields all cleaned surfaces from the sun’s rays
Turtle WaxDash & Glass Interior Detailer
23.0 fl oz
$7.00
- 2-in-1 Cleaner for Glass and Dash
- No Residue, Streak-free Shine
- Simply Spray and Wipe
Thanks! You should receive a confirmation email shortly.
All Wheel & Tire Cleaner
$8.00
- High-performing power foam breaks up dirt, mud, residue and brake dust
- Easy to use, spray and rinse wheel and tire cleaner
- Non-acidic and safe
Max Power Car Wash
$7.00
- Three levels of cleaning power from moderate to extreme for the wash best suited to your needs
- Removes stains, tar, tree sap and even old wax to prep and restore tired surfaces
- Fragrance-infused formula creates a pleasant atmosphere for a refreshing car care routine
Dash & Glass Interior Detailer
$7.00
- One-step cleaning for all washable interior surfaces
- Sparkling, streak-free cleaning for glass, instruments, touchscreens, plastics and more
- Clearvue Technology delivers dust-free, non-greasy, zero-residue cleaning
- UV protectant shields all cleaned surfaces from the sun’s rays


Streak-Free Mist Interior Detailer Spray
$14.00
- Buy One Get One Free - Use Code: B1G1INT
- Can not be used in conjunction with any other discount codes
- All surface interior detailer lifts dust, fingerprints and light stains from any nonporous surface inside your car
- Simple spray-and-wipe application; perfect for quick, on-the-go use
- Odor-X technology eliminates unpleasant odors and freshens the inside of your car for up to 30 days
- Innovative, Flairosol sprayer coats surfaces evenly for more efficient cleaning
- Streak-free, residue-free formula
WANT MORE TURTLE WAX?
Subscribe for your newsletter and the rewards will be in your inbox before you even get there
Latest
News, events and insights from Turtle Wax® worldwide
Offers
Exclusive offers and discounts on Turtle Wax® products
Rewards
Regular treats and surprises for all subscribers
Thanks! You should receive a confirmation email shortly.